DIY Guide: Installing Custom Fork Decals on Your E-Bike
Introduction to Custom Fork Decals
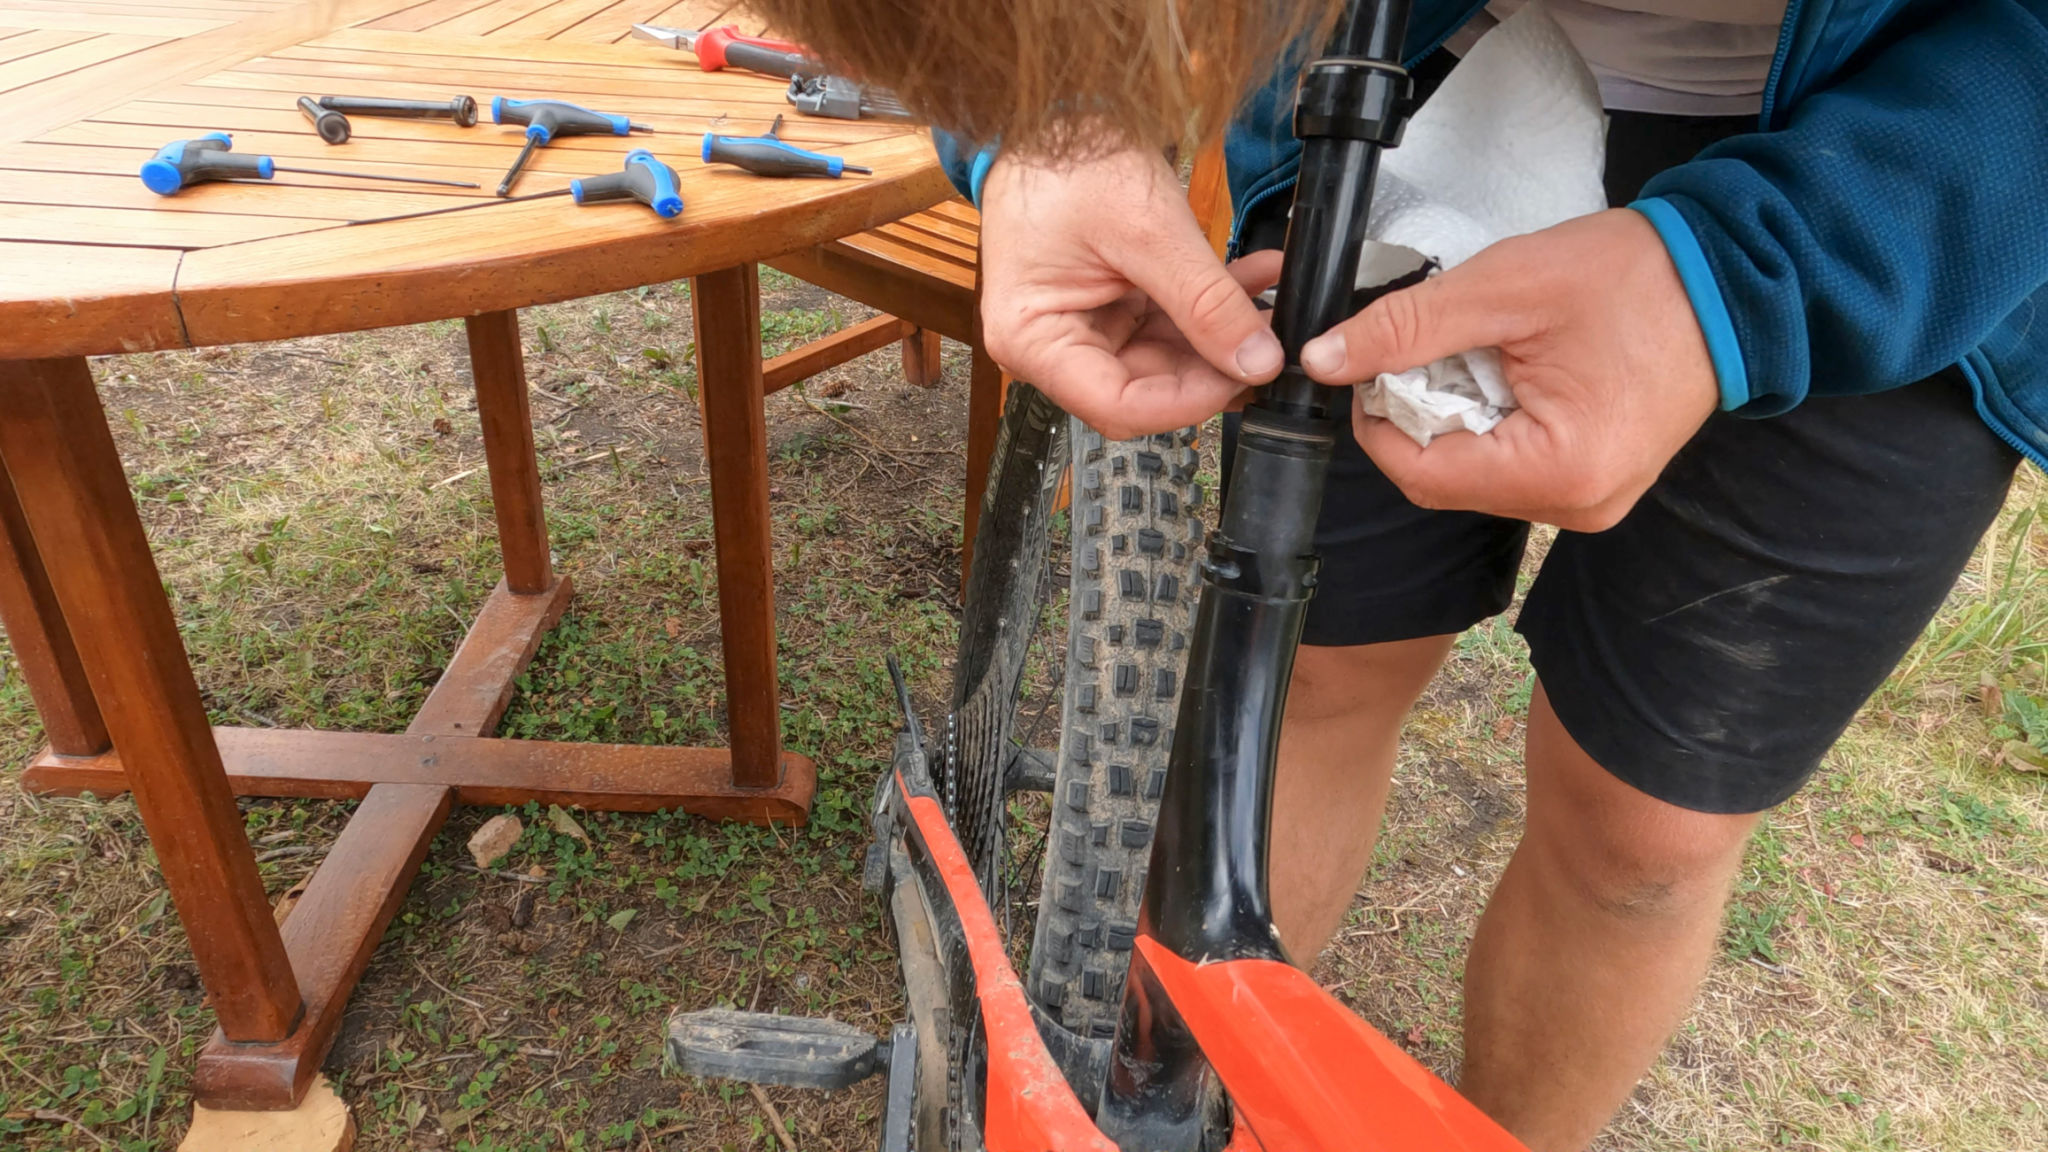
Adding custom fork decals to your e-bike is a great way to personalize your ride and make it stand out. Whether you want to showcase your unique style or add some branding, custom decals are an easy and affordable way to do so. In this DIY guide, we'll walk you through the steps of installing these decals, ensuring a professional look.

Gathering Your Materials
Before starting the installation process, it's essential to gather all necessary materials. You'll need the following:
- Custom fork decals
- Cleaning cloth
- Isopropyl alcohol
- Ruler or measuring tape
- Masking tape
- Scissors or a craft knife
- Squeegee or credit card
Having these items on hand will make the process smoother and ensure your decals are applied correctly.
Preparing the Surface
Preparation is a crucial step in ensuring that your decals adhere properly. Start by thoroughly cleaning the fork surface with a cleaning cloth and isopropyl alcohol to remove any dirt, grease, or residues. This will help the adhesive bond effectively.
Once clean, let the fork dry completely. Avoid using water-based cleaners, as they may leave residues that affect adhesion.

Positioning the Decals
Now it's time to position your decals. Use a ruler or measuring tape to determine the desired placement on the fork. Ensure that both sides are symmetrical for a balanced appearance. You can use masking tape to temporarily hold the decals in place while you adjust their position.
This step is critical, as once you apply the decals, making adjustments can be challenging.
Applying the Decals
With the decals in position, carefully peel away the backing paper. Start applying from one end, using a squeegee or credit card to smooth out any bubbles as you progress. Apply even pressure to ensure a secure bond.
If you encounter air bubbles, gently lift the decal and reapply it, smoothing out the surface again. Take your time with this step for the best results.

Finishing Touches
Once the decals are applied, inspect them for any bubbles or wrinkles. Use a squeegee to smooth out imperfections. If necessary, use a craft knife to trim any excess decal material for a clean edge.
Allow the decals to set for 24 hours before exposing them to water or extreme conditions. This curing period helps secure the adhesive fully.
Caring for Your Decals
To maintain the appearance of your custom fork decals, clean them gently with a soft cloth and mild soap. Avoid abrasive materials that could damage the design.
Regular maintenance will keep your bike looking fresh and your decals in pristine condition.

Conclusion
Installing custom fork decals on your e-bike can enhance its aesthetic appeal and reflect your personal style. With careful preparation and application, you can achieve a professional look that lasts. Enjoy your newly customized ride!
