DIY: Installing Custom Fork Decals on Your E-Bike


Why Customize Your E-Bike?
Adding custom fork decals to your e-bike is a fantastic way to personalize your ride and make it stand out. Whether you want to showcase your personality, support a cause, or simply add a splash of color, decals can transform the look of your bike. Plus, it's a relatively simple and inexpensive DIY project that doesn't require professional help.

Gathering Your Materials
The first step in installing custom fork decals is to gather all necessary materials. You will need:
- Custom fork decals (available online or from local bike shops)
- Cleaning supplies (soap, water, and a microfiber cloth)
- A squeegee or a credit card
- Scissors or a craft knife
- Masking tape
- A hairdryer or heat gun (optional)
Ensuring you have the right tools will streamline the installation process and help you achieve a professional look.
Preparing Your E-Bike Fork
Before applying decals, it's essential to clean the fork thoroughly. Any dirt, grease, or residue can prevent the decals from adhering properly. Use soap and water to clean the surface, then dry it with a microfiber cloth. If there are any stubborn spots, consider using a mild degreaser.
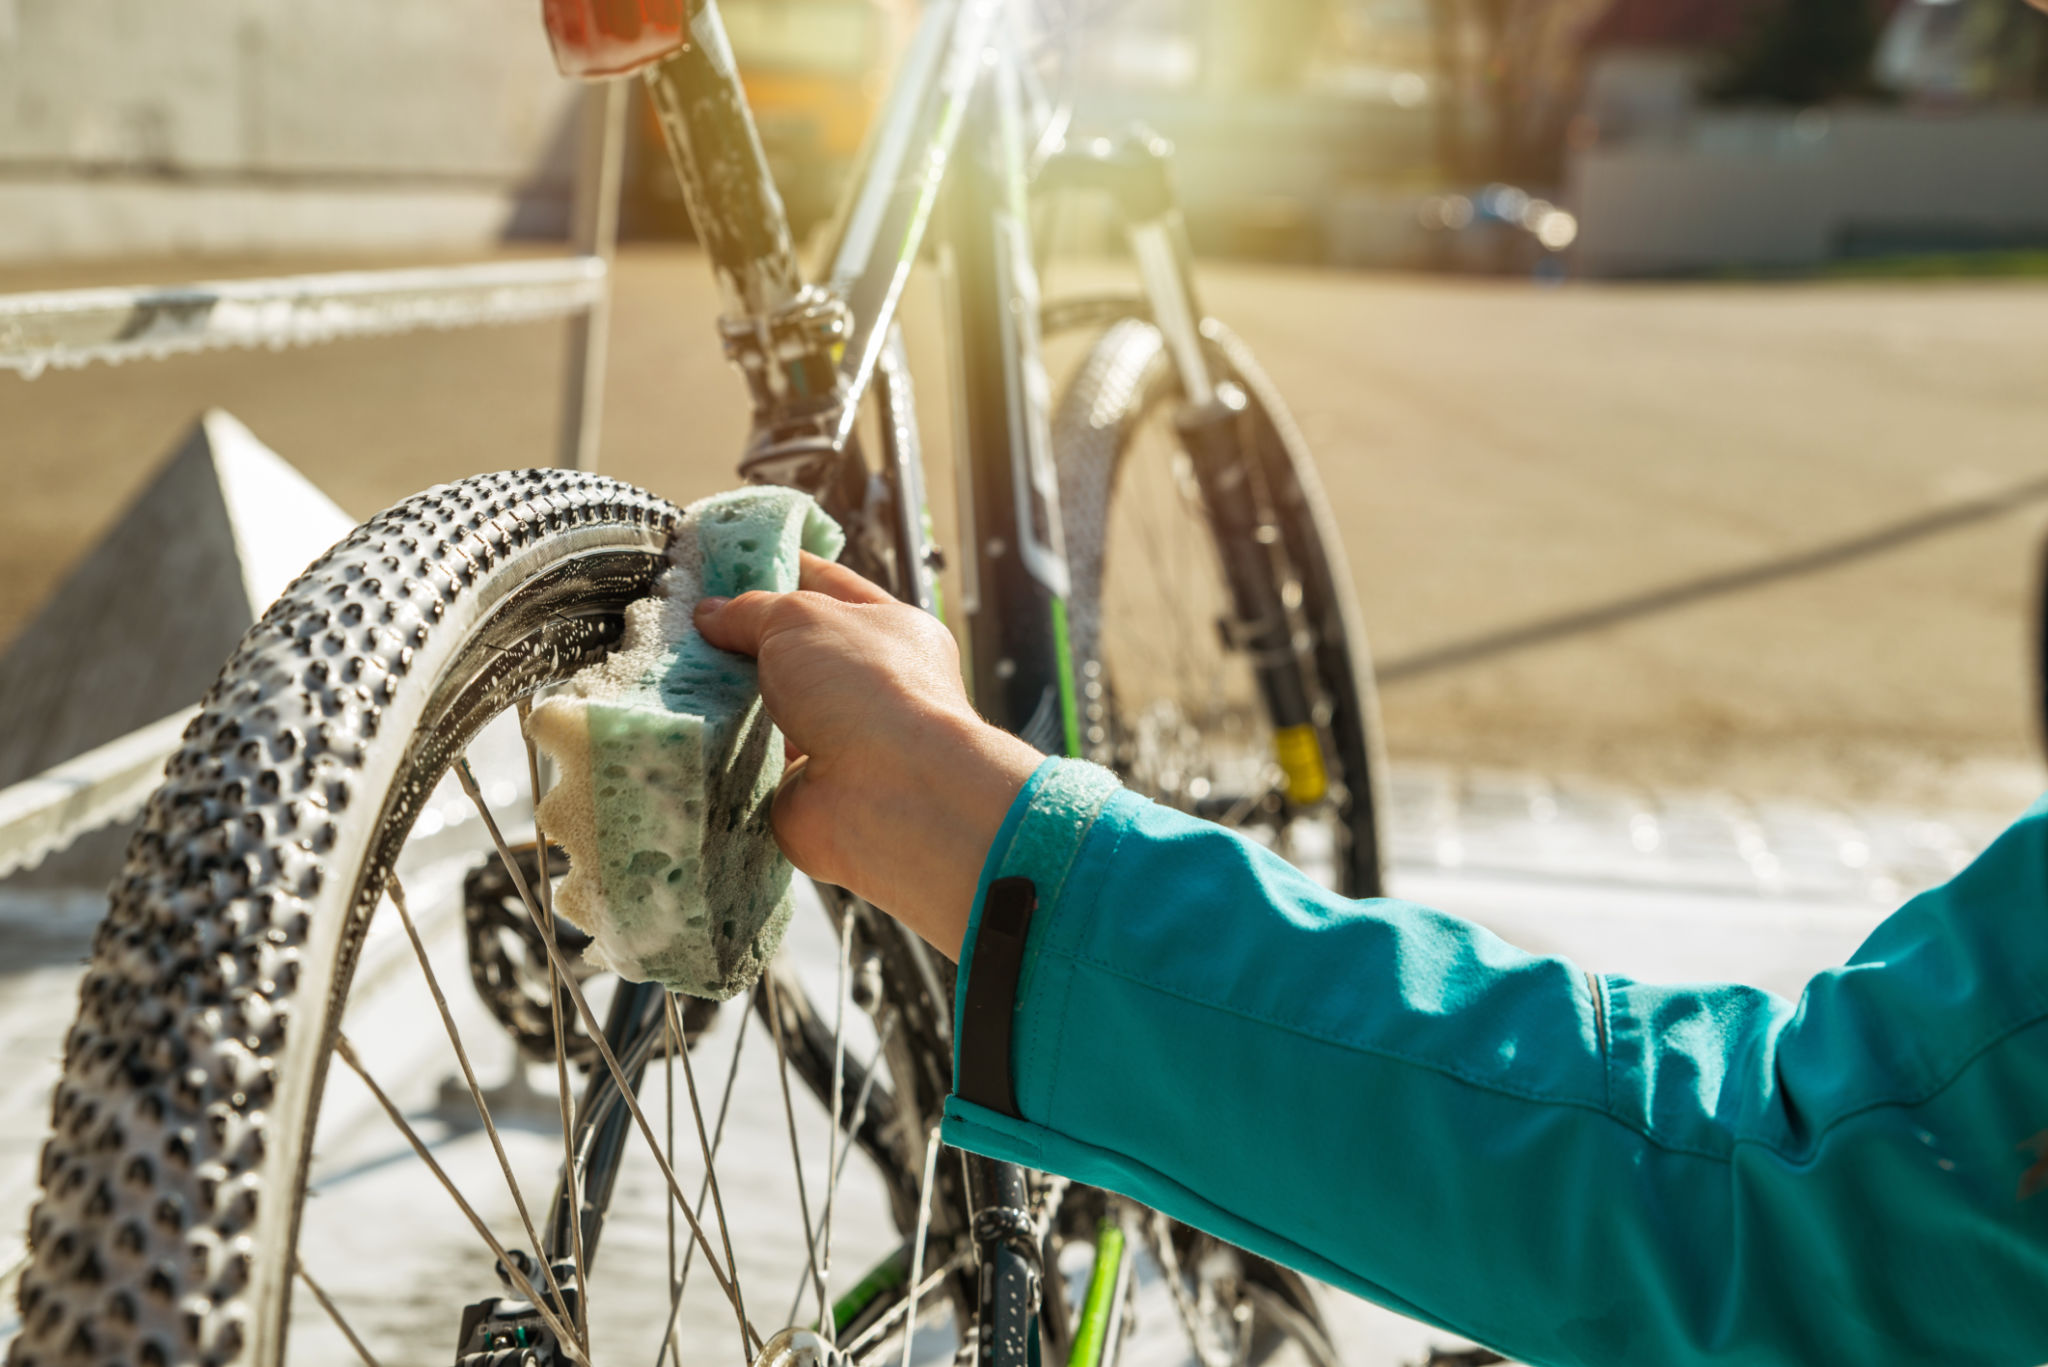
Ensure that the fork is completely dry before proceeding to the next step. This will help the decals stick better and last longer.
Applying the Decals
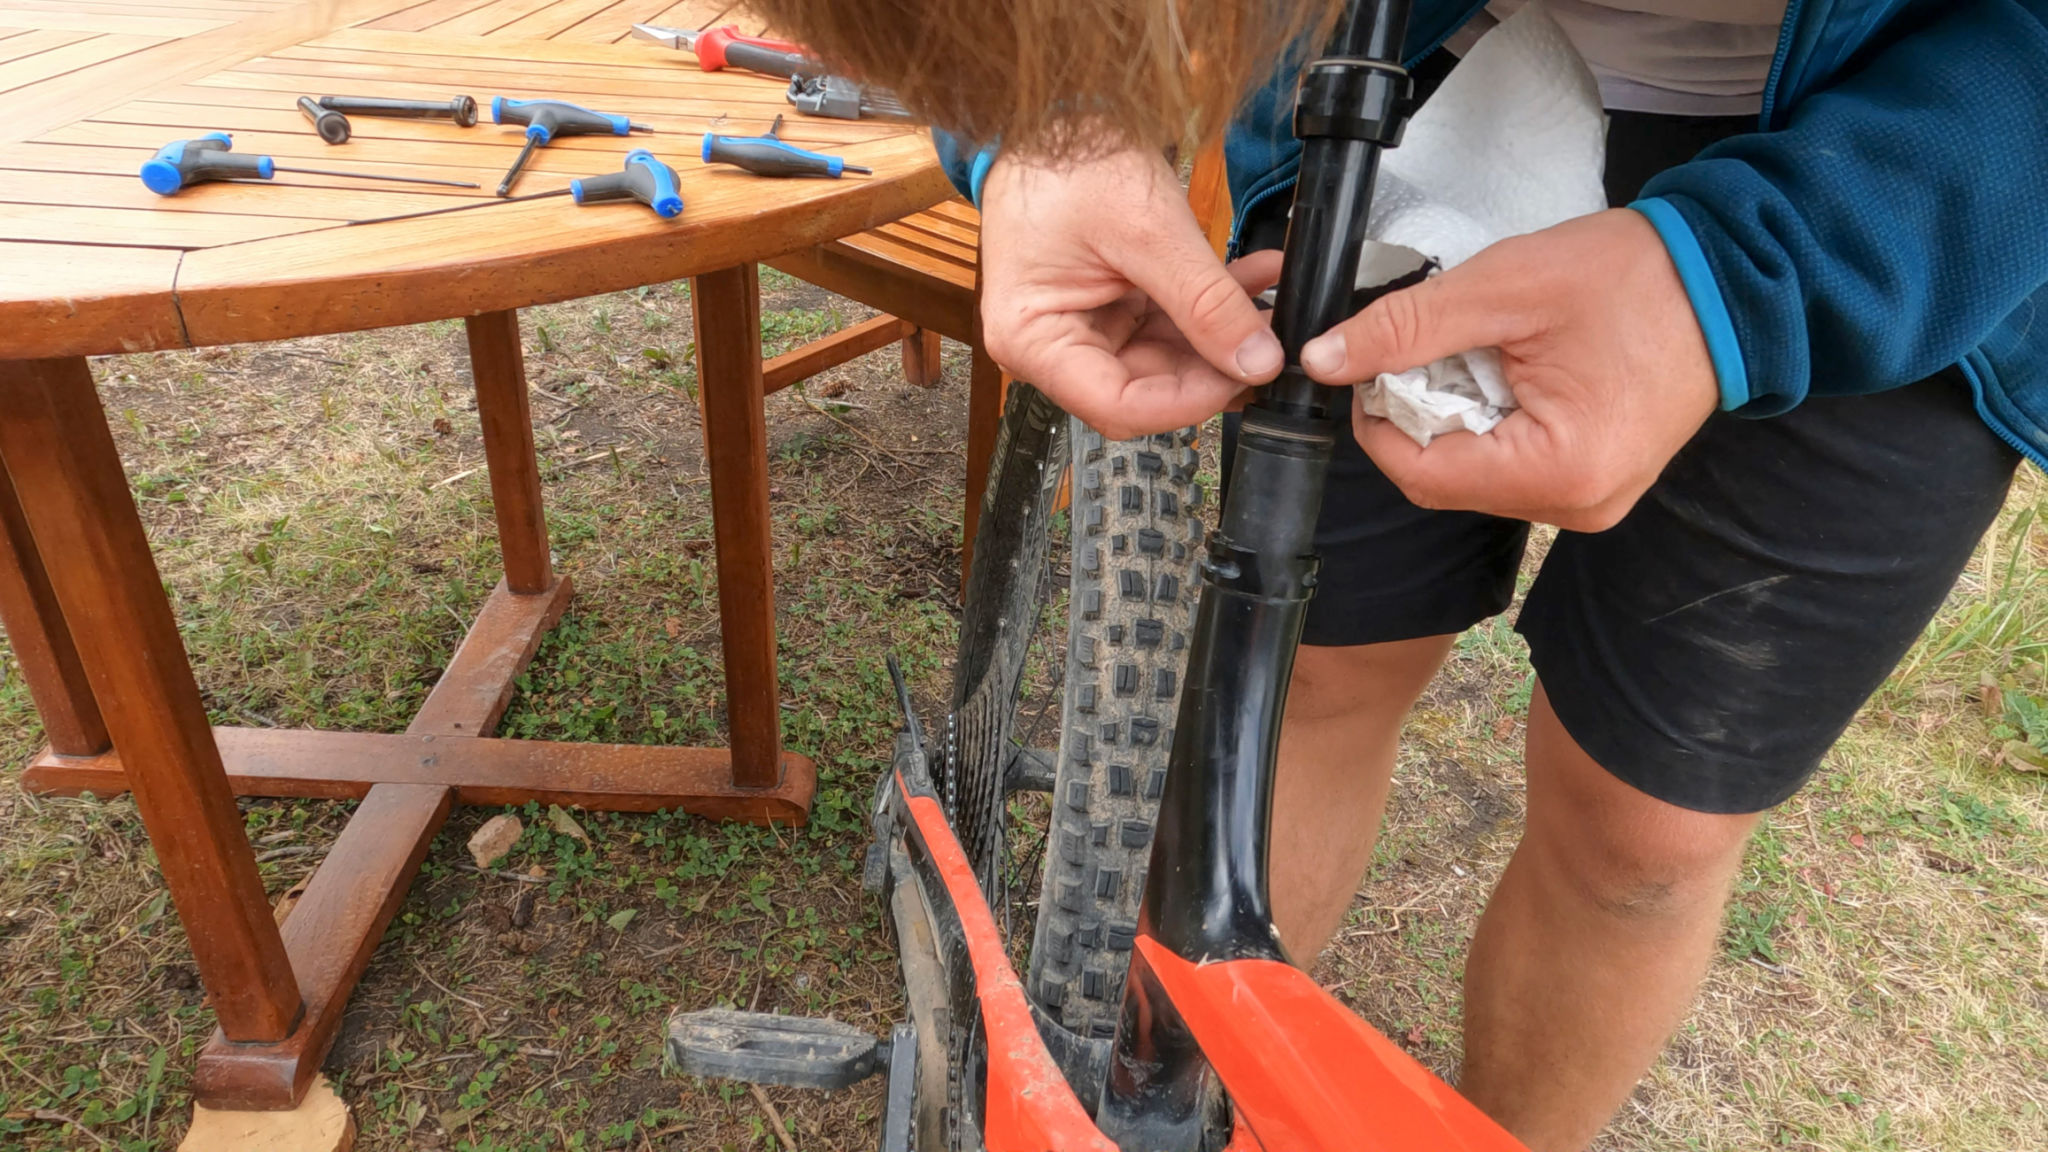
With your fork clean and dry, it's time to position your decals. Cut them to size if necessary, and use masking tape to hold them in place temporarily. This allows you to adjust their position until you're satisfied with the alignment.
Once positioned correctly, remove a small section of the backing paper from one end of the decal. Begin applying it to the fork, using a squeegee or credit card to smooth out any air bubbles as you go. Gradually remove more of the backing paper, smoothing as you proceed.

Final Adjustments and Finishing Touches
If you encounter small air bubbles, gently lift the decal and reapply it while smoothing out the trouble spots. For a more secure fit, use a hairdryer or heat gun on low heat to warm the decal slightly. This helps it conform to the fork's shape and adhere better.
Once all decals are applied and adjusted, give them a final inspection. Trim any excess material with scissors or a craft knife for a clean finish.
Maintaining Your Custom Decals
To keep your custom fork decals looking fresh, regular maintenance is key. Avoid using harsh chemicals when cleaning your e-bike and gently wash the decal area with mild soap and water. This will help prevent peeling and fading over time.
Periodic inspection of your decals can also catch any early signs of wear, allowing you to address issues before they worsen. With proper care, your custom decals will add flair to your e-bike for years to come.
Conclusion
Customizing your e-bike with fork decals is an enjoyable and rewarding DIY project. By following these steps, you can easily install decals that reflect your style and make your bike uniquely yours. So gather your materials, set aside some time, and get ready to transform your ride!